
While baking might seem daunting, it’s best to think of it as a science, and having the right equation is all you need! Read on for the most commonly asked troubleshooting questions and answers to help prevent or save your sweets from the most common pain points.
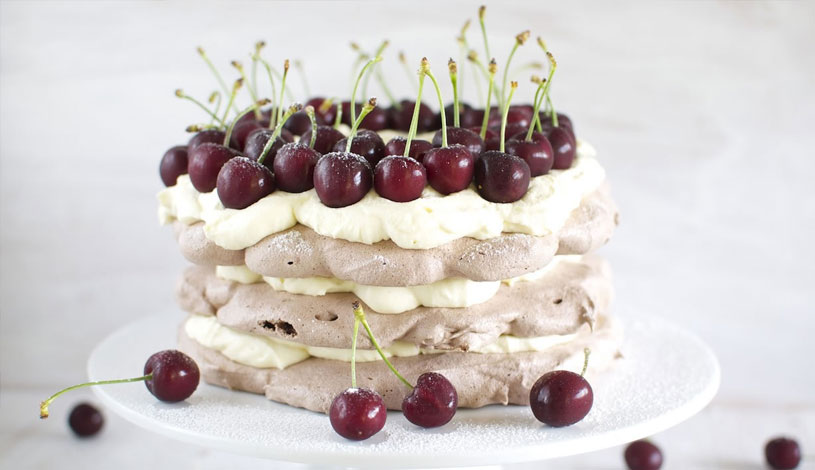
1. How do I fix over-beaten egg whites? Why won’t my egg whites whip?
Egg whites can be tricky to master, but with a few of our tips and tricks, you’ll never see a grainy over-whipped white again!
Room temperature: Room temperature egg whites whip up faster and hold their volume far better than cold ones, so always let your whites sit out for about 30 minutes before you get started.
Avoid fats: Steer clear of grease, fats or anything else that might hinder your egg white whipping abilities. Cleaning your utensils with vinegar, use a glass or metal bowl, and don’t allow yolk to contaminate your whites.
Want to learn more about working with egg whites? Head over to our blog to read our 10 Tips to Mastering Meringue.
2. Why does my chocolate look white? Can I still use it?
Chocolate can sometimes develop a white or grey coating when stored incorrectly, this can be one of two things – Sugar bloom or fat bloom. Both types of bloom might be unattractive, but the chocolate is still perfectly fine for ganache and in baking. So what is chocolate bloom?
Sugar bloom is when chocolate is stored in a humid environment such as the fridge. This moist environment causes the sugar in the chocolate to dissolve and recrystallise on the surface, giving a spotty appearance. In the end, it all tastes the same, just ignore the spots and store your chocolate in an airtight container next time!
Fat bloom is when the storage temperature is too high causing the cocoa butter to separate and rise to the surface, giving a whitish hue. It’s still perfectly fine to bake with, just be sure to store your chocolate in a cooler spot in future.
3. My melted chocolate is grainy and stiff, what happened?
Water: Chocolate, even in its melted state is considered a dry ingredient, adding water to any dry ingredient (such as flour) will cause it to become a paste. A small drop of water or water-based liquids can immediately cause the chocolate to seize, making the sugar and cocoa particles stick together to form a hard, grainy paste. Keep your chocolate away from water and ensure your bowls and utensils are 100% dry! And do not use any wooden utensils to stir chocolate as these can hide and hold onto moisture.
–> Solution: If your chocolate does seize, add boiling water, about 1 teaspoon per 50g of chocolate, stirring vigorously after each addition until chocolate is smooth. Keep in mind the chocolate is now diluted, so is best used for sauces, ganache or drizzling rather than dipping or coating, depending on how much water you add.
Heat: Adding cream that is too hot or microwaving for too long at full power can cause your chocolate to become thick and muddy due to heat shock. Only heat cream to a very gentle simmer before removing from the heat and slowly pour over chocolate. When heating chocolate in the microwave, do so in 30 seconds increments, and better yet, at half power.
–> Solution: Overheated chocolate can be rescued. You’ll want to cool the chocolate first, as it is harder to save chocolate kept at a high heat for too long. Transfer to a clean dry bowl and add a small handful of additional solid chocolate stirring constantly to bring down the temperature. If this does not help, add a teaspoon of neutral flavoured oil at time until smooth. If all else fails, spread it out onto baking paper, let it cool and use as chocolate chunks in baking recipes. No one will ever know!
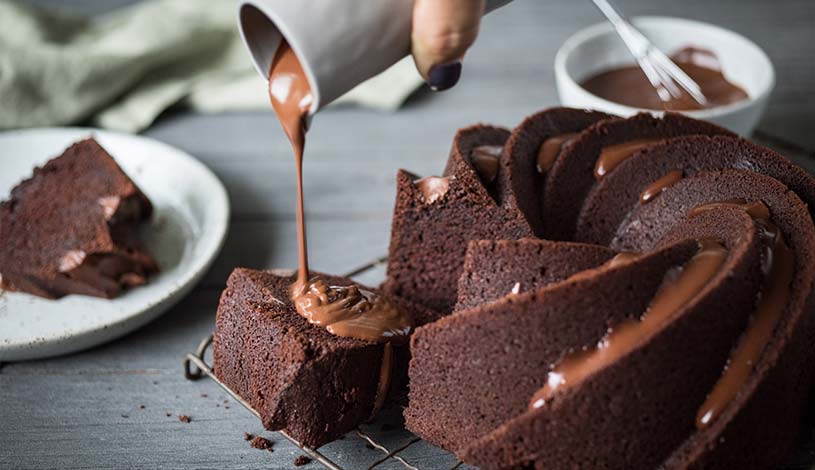
4. My ganache has split, how can I fix it and how can I prevent it?
The main cause for ganache splitting is adding cream that is too hot, or by over-mixing, causing the fat to separate from the other ingredients resulting in a ganache that looks slightly curdled.
Add glucose – A tablespoon of Queen Glucose Syrup added to your warm ganache is often all you need to restore it to its silky glory.
Add warm milk – Gently heat ¼ cup of full cream milk and add a tablespoon at a time to warm ganache. Stir gently until combined. The more milk you add, the less hard your ganache will set, so it’s best to use as a glaze or add more finely chopped chocolate to thicken it up.
Prevention – To prevent your ganache from splitting in the first place, be sure to heat the cream until it just starts to simmer. By simmer we mean very small bubbles coming to the surface and a small amount of steam coming off the surface. Once you have poured the cream into the chocolate, be patient! Allow it to sit for a few minutes, before stirring until just combined and smooth, then stop stirring.
Want to learn more? Be sure to check out our Ganache Masterclass video tutorial for help on consistency, recipes and flavours.
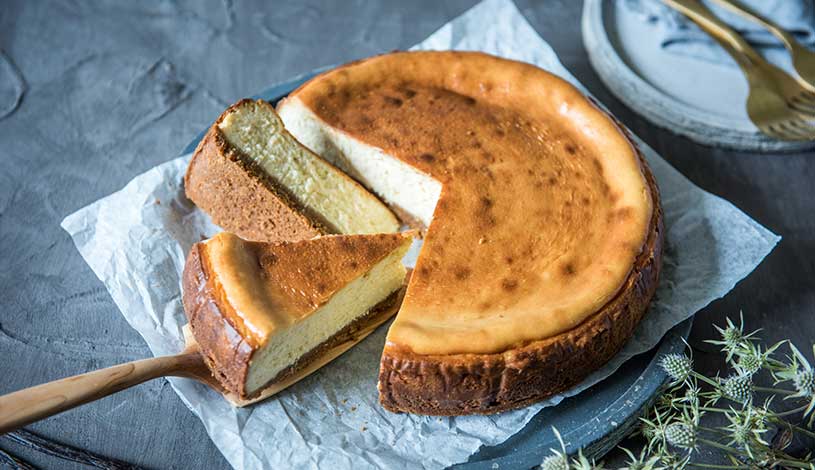
5. Why did my cheesecake crack?
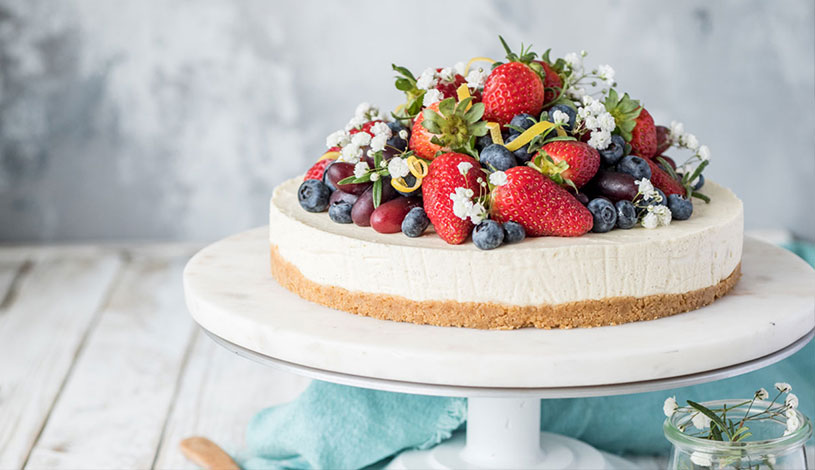
There’s nothing worse than pulling a perfect cheesecake out of the oven, only to return 30 minutes later to a giant cavernous crack right through the middle! There are a few reasons why this may have happened, and you can follow these tips for next time. But if you’re in a pickle right this second, a generous pile of whipped cream, strategically placed fruit or a liberal serving of sprinkles is all you need to disguise the grand canyon atop your cheesecake.
Opening the oven too soon – temperature changes can cause your cheesecake to crack, so be patient and make sure you only open your oven when you think your cheesecake is ready.
Cooling too quickly – When your cheesecake has finished cooking, don’t pull it out of the oven straight away, simply turn off the oven and leave the door ajar with a wooden spoon to let the hot air escape. Allow the cheesecake cool down slowly in the oven for an hour before taking it out.
Over-baking – This is the most common culprit! Bake your cheesecake until there is still a slight wobble in the center. Turn off the oven and leave to cool as above.
Oven is too hot – Cheesecakes are likely to crack when the mixture gets too dry, so avoid baking at too high a heat – as a rule of thumb, never cook your cheesecake above 160°C (fan forced). To prevent your cheesecake from drying out, pop it in a water bath or place 3-4 ramekins filled with water into the oven with your cheesecake. The steam released will create the perfect environment to prevent cracking.
Over mixing – Make sure you mix the ingredients only as much as it takes to make the batter smooth. Avoid trying to “beat out” lumps caused by using cold cream cheese, otherwise you’ll incorporate too much air that will make the cheesecake rise in the oven, before collapsing and causing cracks as it cools.
6. Why is my cheesecake lumpy?
Cheesecake is all about that perfectly creamy, silky smooth filling. The key? Room temperature ingredients. Your cream cheese, eggs, cream – everything. Cold cream cheese is the most common cause of lumpy cheesecakes, so always allow your cream cheese to come to room temperature before using. To speed this up, cut into small pieces and allow it to rest on the bench to bring to room temp. Alternatively, place cream cheese, still in its foil packaging in a bowl of warm water for 15 minutes.
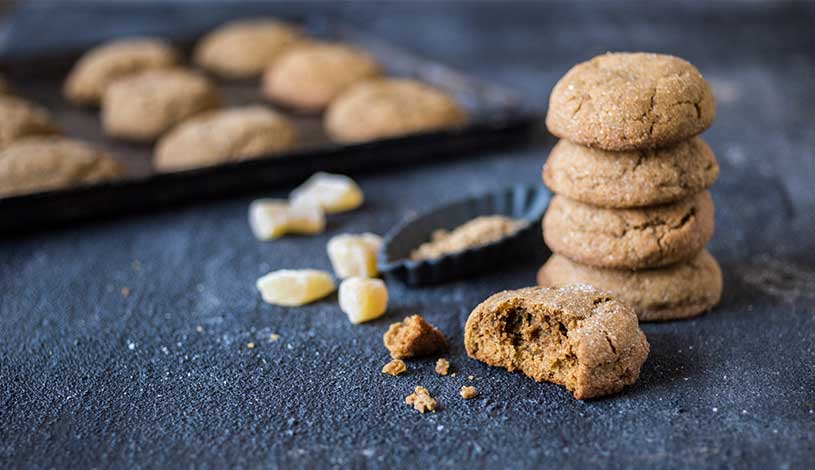
7. Why are my cookies cakey instead of chewy?
Hard and crunchy, soft and chewy, fluffy and cakey? We all have our preferences, but if you’re expecting to bite into a chewy cookie, only for them to come out of the oven all puffed up like a cupcake you may have made one of the following mistakes.
Too much liquid – Soft, cakey cookies are usually caused by a recipe that has a high liquid (milk & eggs) to sugar and/or fat ratio. It’s likely to be your recipe, so look for one with more butter if you prefer them crispy. Queen tip: salted butter contains more water than unsalted – so reach for the latter if you want crispy or chewy cookies.
Too much brown sugar – This one might sound odd considering brown sugar seems like it would create sticky, chewy cookies, but actually; brown sugar contains acid that can over activate raising agents, creating a fluffy, cake-like cookie.
Too much flour – Too much flour can cause a cakey cookie with minimal spreading and caramelisation. Weigh your flour instead of relying on cup measurements as weight can vary by up to 30g – that’s almost an additional ¼ cup of flour!
8. Why are my cookies flat?
Your butter is too soft – This creates greasy, flat cookies. Ensure your butter is soft but not overly so when mixing up your cookie dough to create structure in the dough. Softened butter simply means to bring the butter to a temperature where an indentation is left when pressing with your finger, with the butter still holding its shape.
Cookie dough is too soft – Much like above, cookie dough starts to lose its structure the longer it is sitting around waiting to be baked, especially if your kitchen is warm. Try refrigerating the dough for 30 minutes before baking to allow it to firm up.

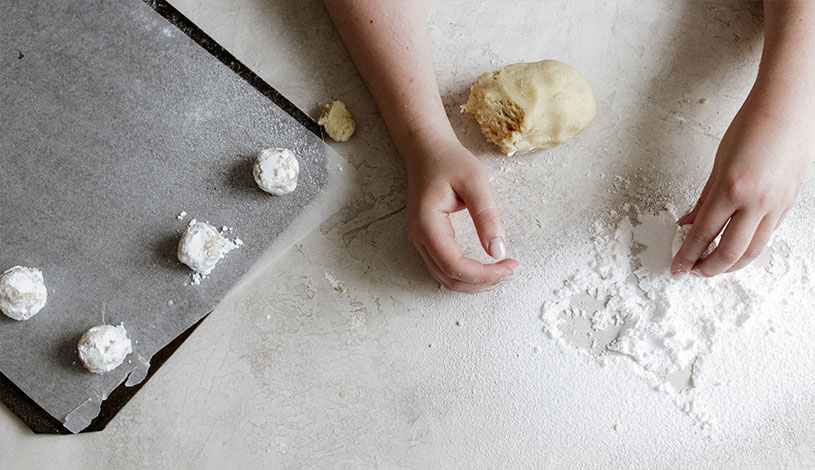
9. Why did my pie crust shrink?
Overworked dough – When making any pie or tart dough, it’s best to mix your dough until it just comes together. You’ll want it at the stage where you can still see bits of butter, with the mixture coming together when pinched between your fingers. Over-mixing causes gluten development; which not only makes the dough harder to roll out, but shrinks considerably when baked.
Not enough resting or chilling – Chilling allows any over developed gluten to relax. It’s best to relax and chill the dough twice in the fridge for up to 30 minutes. After it has come together and after it has been rolled out and fitted it to the pie or tart tin.
You didn’t blind bake – Blind baking helps the crust from moving while baking by applying pressure to the dough, preventing air bubbles and shrinkage.
Oven is too hot – cooking your crust too quick at a high temperature makes the gluten tighten up and shrink. Try and avoid baking at temperatures higher than 180°C (fan forced).
You used a glass, enamel or glossed ceramic pan – The aforementioned pans are ideal for biscuit base crusts that don’t need baking. Glass tends to be more slippery, allowing the pie crust to shrink more easily as it is baked – we advise choosing a metal pan instead.
10. Why did my cupcake cases separate from the cakes?
Storage – While a container will keep your cupcakes fresh, a completely airtight container will cause your cupcakes to sweat, even more so if they aren’t completely cooled. We recommend baking your cupcakes on the day you intend to serve them, or store them in a cardboard cake box or a cupcake carrier.
Humidity – Similar to storing cupcakes when warm, humid conditions can also cause cases to peel. Try to keep your cupcakes in a cool, dry place.
Poor quality cupcake cases – Cheaper cupcake cases made with a thinner paper are more likely to peel compared to their brand name counterparts.
Did we help you to fix your problem, or perhaps you learnt something new? Maybe you have some of your own tips to share? Let us know in the comments below. If you didn’t quite get the answer you’re after, we have an abundance of helpful baking blogs on Queen.com.au. If all else fails, pile on some whipped Vanilla Bean cream and grab the sprinkles, it’ll be like nothing ever happened!
For monthly recipe inspiration delivered straight to your inbox, along with product information, competitions and special offers, join our Queen Baking Club.

Comments & Reviews