
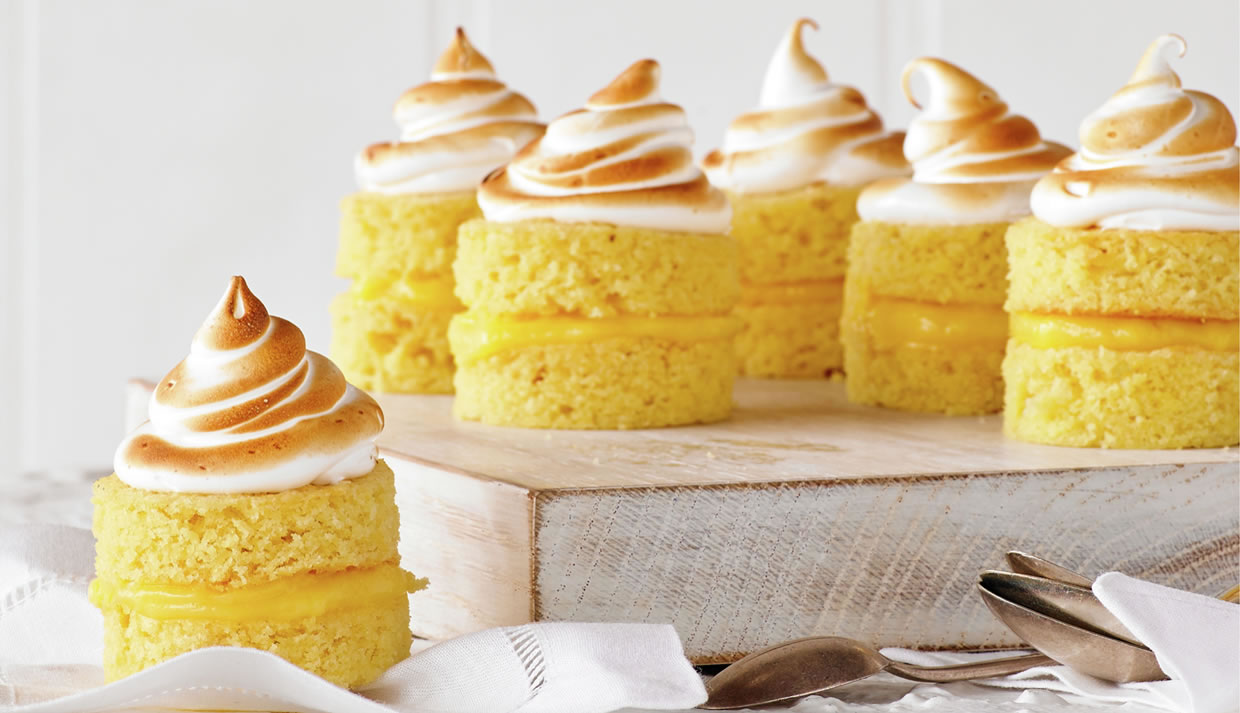
Meringue type
There are three types of meringue, French, Italian and Swiss. French meringue is the most common and the easiest with just egg whites and sugar. Italian meringue requires hot sugar syrup to be poured into your egg whites and Swiss meringue has the same ingredients as French, but you’ll be combining those ingredients over a hot water bath and whipping light and fluffy peaks.
1. Working with whites
We’ll start with the star of the show, egg whites. Firstly, your eggs need to be the right temperature. Separate your eggs while they are cold and then allow your whites come to room temperature – 30 minutes will do! Chilled eggs are far easier to separate as the whites are firmer when cold, and room temperature whites whip up in no time, and give you greater volume.

2. Fat free, please
Make sure all your gear is spick and span, the smallest bit of grease left over from last week’s delicious buttercream will wreak havoc on your egg whites. Plastic bowls are notorious for absorbing grease, so use a glass, ceramic or metal bowl instead. A handy tip is to wipe out your mixing bowl (and any utensils too!) with a bit of vinegar. This will help banish the grease that would otherwise get in the way of light and fluffy egg whites, but also add a touch of stabilising acid.
3. Don’t put all your eggs in one basket
Like grease, the smallest amount of yolk is bad news. Try as you may, your egg white won’t fluff up and reach voluminous heights. When separating your eggs, crack them on a flat surface such as your bench or a plate (just in case some of it escapes). This reduces the chances of piercing the yolk with egg shell shards or the sharp edge you’re cracking it on. Another tip is to separate eggs individually into small bowls before adding to your large bowl of whites. This way, if a yolk breaks, you’ll have only contaminated one white, rather than the whole batch.
4. Humidity and meringue don’t mix, literally
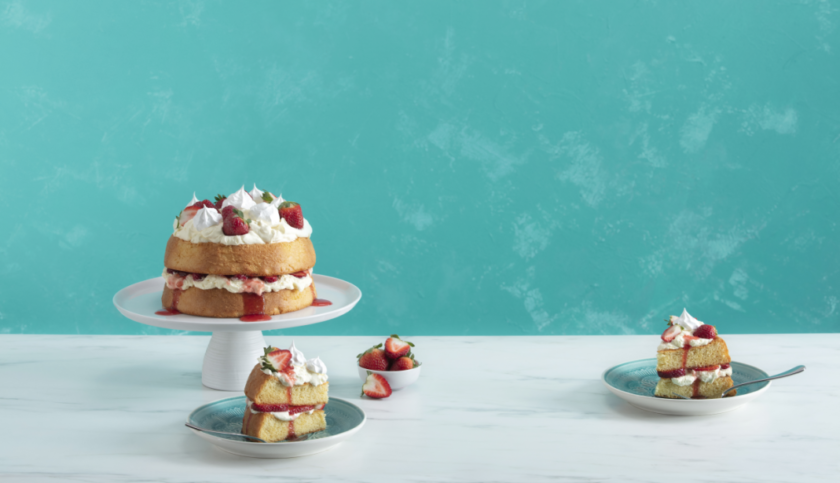
Meringues, much like picnics, are not a rainy day activity. Picking the right day to whip up your whites is a must. Whipping moist air into your egg whites is a no go, they’ll collapse, go sticky, or seem a bit stale when you’re through. If you do manage to whip up a great batch of meringues on a humid day, quickly pop them away in a sealed container. And if you just need to put the finishing touches on your incredible Cinnamon Banoffee Pavlova, just leave your naked pav in the oven until you’re ready to serve.

5. Easy does it
Be careful not to overbeat your whites, they can quickly go from soft peaks to a lumpy, liquid mess. So keep a watchful eye over your stand mixer and don’t try to whip your whites too quickly. If you do happen to take them a smidge too far, you can try and beat in another egg white to save the mix. If you’ve gone beyond the stage of no return, you’ll unfortunately have to start again with fresh whites. Check out this visual tutorial showing you all the stages of whipped whites, including overbeaten.
6. A helping hand
If you’re still worried about over beating your whites, there’s no shame calling in the reinforcements, you’ll find that some recipes call for cream of tartar, vinegar or lemon juice to help stabilise them, making them harder to overbeat. All you need to know is how much to use and when to use it. Just add 1/8 tsp of cream of tartar, ¼ tsp vinegar or ¼ lemon juice per large egg white when your whites start to froth, but before they reach peak stage.
7. Just a spoon full of sugar
The best rule to follow is a 1:2 ratio of egg whites to sugar, so for 1 large egg white (approx. 30g), you’ll need to use 60 grams of sugar or if you’re going by cup measurements, that’s ½ cup egg whites to 1 cup of sugar. We find it’s best to use caster sugar as it dissolves more easily and undissolved sugar can lead to cracks, beading and weeping. To check your progress, just rub some meringue between your fingertips, and if there is still a little grittiness, keep whipping! It always helps to add your sugar or sugar syrup gradually and only after you’ve reached stable soft peaks. Try adding a tablespoon of sugar at a time, or you’ll knock out all the volume. It also helps to stabilise your egg whites, so once you start adding sugar you’re less likely to over whip them.
8. What’s your flavour?
Want to add flavour to your meringue? This can be difficult as you don’t want to introduce too much moisture, but with the help of the right ingredients, adding a touch of flavour is easy. Ideally you’ll add dry ingredients like cocoa or spices or small amounts of extracts, which limits strong flavours or fruits. However, with the help of Queen Baking Pastes, getting strong fruit flavours like Raspberry, Lime and Passionfruit is such a breeze and taste delicious too!
9. To corn flour or not to corn flour?
It’s really up to you! While it’s not necessary, most of us add it to our Pavlova as a safety net, it helps to prevent your Pavlova from collapsing and weeping, and also allows for a shorter cooking time. But be careful not to add too much, as it can prevent the outside from getting that nice crisp shell.
10. Low and slow is the way to go
Slow and steady is the fast and hard rule for any meringue. Start slow when whipping the whites for small and stable bubbles, slowly up the tempo so you don’t over beat and then slowly add the sugar. This goes for your oven too. We’re not cooking, so much as drying out the meringue. Meringue is very sensitive to high temperature and temperature changes. So don’t go opening the oven door within the first 30 minutes for a quick peek or you may end up with cracked meringues. You’ll know a meringue is done when it lifts away from your baking paper without too much trouble.
If you’re hungry to learn more…
Anneka Manning of Bake Club has written an in depth study of meringue, taking the look at the science behind why meringue succeeds or fails. It’s a great read for your most difficult meringue questions!
Now you’re on your way to the perfect meringue, you might be wondering what to do with all those left over yolks. Well, why not bake them into an incredibly easy and delicious Vanilla Bean Crème Brûlèe! Happy Baking!

Comments & Reviews
Thanks for your blog, nice to read. Do not stop.
Mark
Thank you for the meringue tips! 😊
Denise