
Q: Why did my cake crack?
The oven temperature is too high – If your oven is too hot, the top of your cake will form a crust before the inside has finished rising. The batter will then push through the crust as it continues to bake, causing it to crack.
The tin is too small for the amount of batter – There’s only one way for cake batter to go – up! If the surface area of your tin is smaller than the recipes asks for, your cake will bake faster on the top and sides. This leaves the middle to rapidly rise up as it bakes, inevitably doming and then cracking. Solution? Use a larger tin or multiple smaller ones instead.
Q: Why did my cake sink?
Your cake is under cooked – Oops! You may have taken your cake out of the oven too early, or your oven isn’t quite hot enough. This means that the under cooked middle starts to collapse due to a lack of structural integrity. Check your cake with a skewer if you’re not sure!
You’ve over-beaten your batter or added too much raising agent – Incorporating too much air or being a little over-zealous with the bicarb can cause too much aeration in the batter. These bubbles then collapse once heated, creating a crater in the middle of your cake.
Opening the oven door during cooking – No peeking! Resist the temptation to open up the oven door to check on how your cake is cooking. You’ll let out the hot air that’s giving your cake structure, causing it sink.
Q: Why didn’t my cake rise? Why is my cake so dense?
The mixture has been over-beaten – Beating a delicate cake batter too much will overdevelop the gluten. This is NOT a good thing – we’re not making bread! This will make the batter heavy, weighing the entire cake down. Additionally you’ll incorporate extra air which gives artificial lift, which rises in the oven and then collapses once it starts to cool.
Your raising agent is out of date – Old, expired raising agents will fail to give your baking the lift it needs, or may not work at all. Don’t forget to check your self-raising flour too!
You used the wrong raising agent – Bicarb soda and baking powder are not the same thing, and have different amounts of leavening. Bicarb is a pure leavener with nothing added, making it much stronger than baking powder which has additional acid. If a cake calls for bicarb and you accidentally use baking powder, your cake won’t have the same leavening. The same thing will happen if you accidentally use plain flour instead of self-raising.
Too much flour – A cup of sifted flour vs a cup of un-sifted flour can vary by up to 30g, which is almost a ¼ cup of flour! This means extra gluten and an imbalance of dry to wet ingredients, leading to a very dense, dry crumb. Also, don’t forget to measure level cups of flour (if using cup measures). Simply run your knife over the top of the cup for a clean measure.
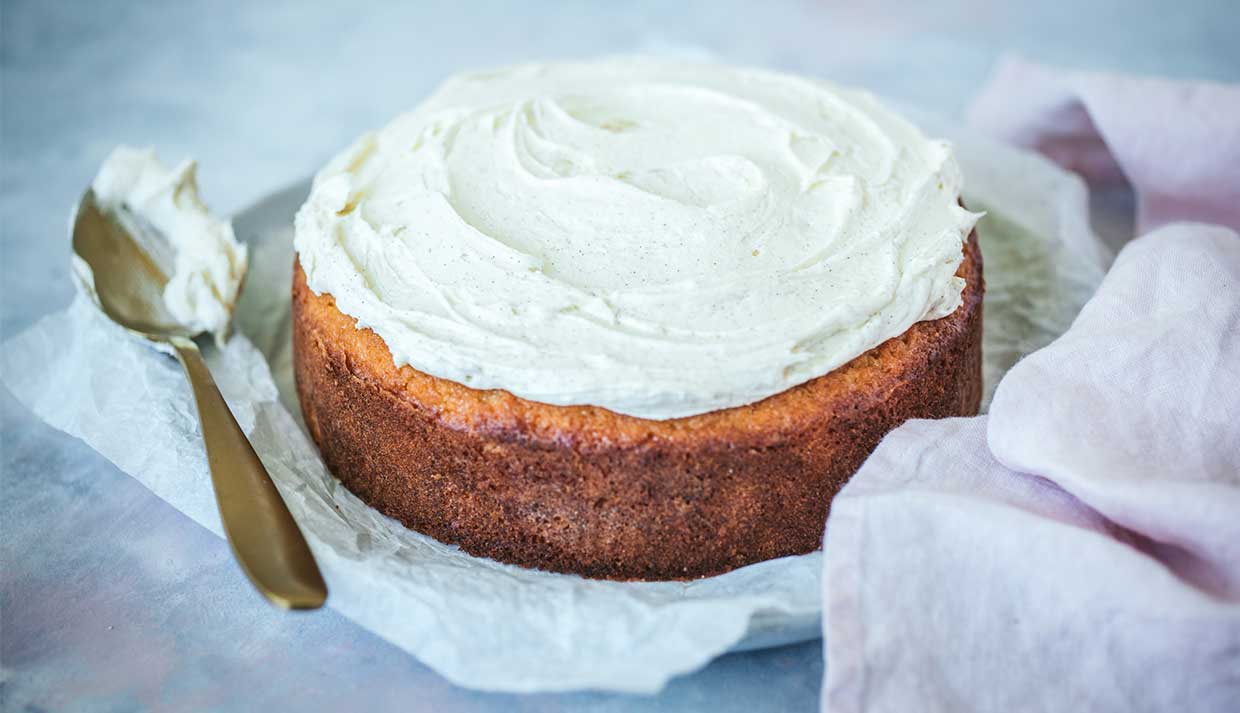
Q: How do I make the perfect sponge cake?
Weigh your ingredients – The first and most important tip is to carefully weigh and prepare your ingredients. This means sifting the flour (yes, 3 times!) and using a scale to accurately measure ingredients rather than cup measures.
Room temperature – Make sure your eggs are at room temperature. Cold eggs struggle to get the aeration and strength when whipped compared to room temperature ones. If you forgot to do this before starting, speed up the process by popping your eggs in a bowl of warm water for 5 minutes.
If you’re on the hunt for sponge cake perfection, you’ll find all the tips you need right here on our blog.
Q: Why did my cake overflow?
Cake tin too small – Did your cup runneth over? You don’t need an expert for this one. If you’re wanting to use a different sized tin to what’s called for in the recipe, please keep in mind that the recipe needs to be reduced or some of the batter needs to be left out. Better yet, make two cakes, or use the excess for cupcakes.
Q: Why is my cake sticking to the tin?
While most cake tins are marked as “non-stick”, they generally need a helping hand for an extra clean release. Buggered up your bundt? These types of cake are a totally different breed, so if you’re having trouble, head to our Tips for Baking the Perfect Bundt blog post.
Grease and line with baking paper – Using a pastry brush or paper towel, spread softened butter over the base and sides of your cake tin/s. Grab some baking paper and cut a circle or shape to fit the base of your tin and smooth down to adhere. Cut another strip or two, and line the sides of your baking tin.
Grease and flour – grease the tin as above and add a heaped tablespoon of flour. Rotate the tin until all surfaces are covered, then tap out the remaining flour. Queen tip: for chocolate cakes, use cocoa instead of flour!
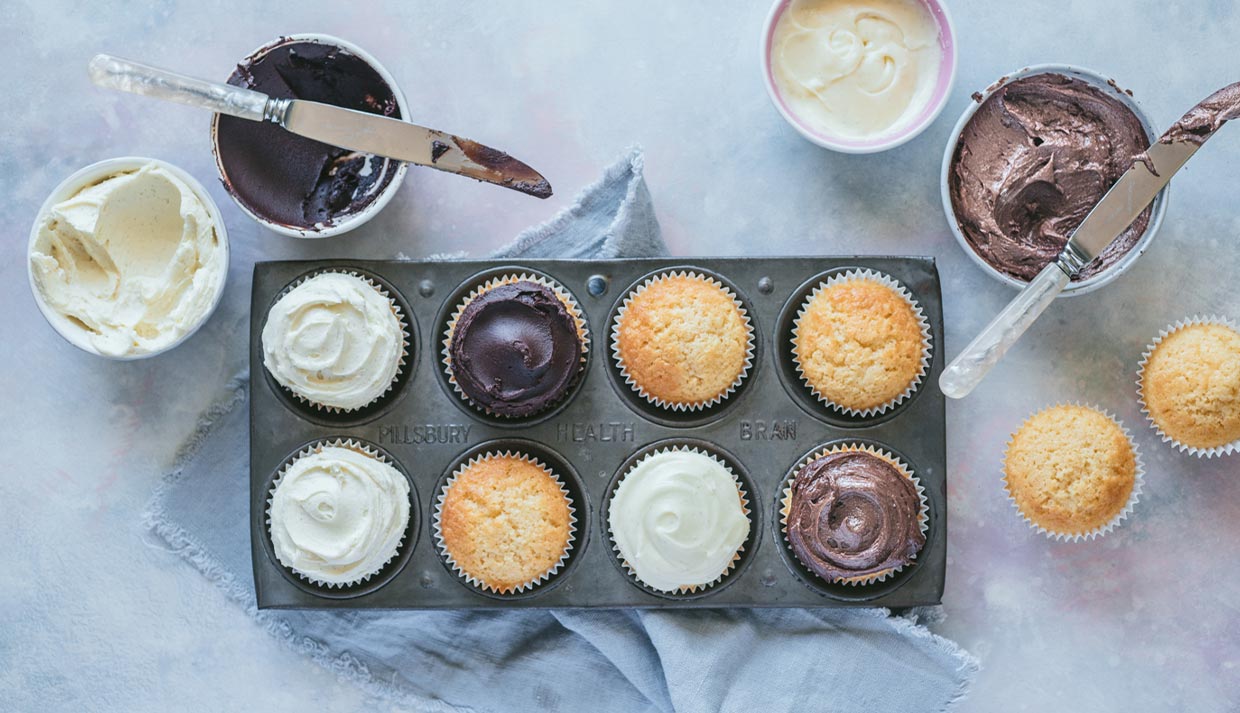
Q: How much do I fill cupcake cases?
Fill your cupcakes roughly ¾ or ⅔ full – We find that filling your standard cupcake case with ¼ cup (60ml) measurement is perfect, and 15ml is just right for mini cupcakes.
Q: Why do my cupcakes have peaks? How do I get my cupcakes to rise flat?
The oven temperature is too high – The single most common reason for cupcakes peaking is that the oven temperature is too high. This means that the outside edges of the cupcake cook too quickly forcing the center to rise higher as it bakes. Turn the temperature down by 10-20°C and bake for a little longer – we find that 150-160°C (fan forced) is the best temperature for flat, even cupcakes.
Overfilling (see above).
Q: Why are there bubbles in my cake?
The batter has been over-mixed – The key to perfect cakes is to mix until *just* combined (unless a specific beating time is stated in the recipe, of course!). Over mixing can lead to additional bubbles in the batter that get trapped when baking, leaving holes or little trails in your cake where they’ve made a run for the surface. Before going in the oven, we like to give the tin a few last minute taps on the bench to bring any bubbles to the surface – just in case.
You’ve used the wrong attachment – For almost all cakes, a paddle attachment is best! From creaming butter to adding eggs, or giving it the final mix, the paddle attachment helps incorporate your ingredients by mixing, rather than aerating or whipping.
Not sifting your raising agents – Lumps of raising agents will absorb moisture from your batter and expand, creating large air pockets.
Q: How do I know if my cake is cooked?
Gently press with your finger – You can check most sponge cakes and cupcakes by gently pressing on the top of the cake, if it bounces back it’s ready to come out. If it leaves an indentation, let it bake for another 3-5 minutes before checking again.
Skewer test – For denser cakes such as chocolate and yogurt cakes, stick a skewer into the middle of the cake. If it comes out clean or with a few moist crumbs, it’s ready to come out of the oven. Please avoid using this test for sponge cakes, as a warm sponge is very delicate and the skewer will cause precious air to deflate! Use the above test instead.
Q: How do I make cakes rise evenly?
Turn your pans – Sometimes ovens have a hot spot, so it helps to rotate the pan 180° after you cake has been in the oven for ¾ of the allotted baking time. This will help your cake rise evenly.
Bake on the middle shelf – Always place your cake on the middle rack in the oven. This allows the air to circulate around the pan for even heating. In many ovens, the bottom tends to be cooler while the top rack is often hotter.
Lower the temperature – If you have an issue with your cakes having a large dome in the middle, chances are that your oven is too hot. Lower the temperature next time by about 10-20°C depending on the severity of the doming.
Use baking or cake strips – Cake strips create an insulating layer around the outside of the tin, allowing the whole cake to cook evenly rather than from the edge in. Cake strips can be purchased online, or you can make them yourself with terry toweling or foil and paper towel.
Q: Why is my cake really brown around the edges?
Your tin is too dark – Much like wearing a black t-shirt on a hot sunny day, a darker tin will absorb more heat than a lighter coloured pan. If using a dark cake tin, it’s best to drop the oven temperature by 10-15°C.
Too much grease – The amount of butter you use to grease your pan will affect browning. The milk proteins in butter can overheat and caramelise when baking, darkening the edges of your cake. Make sure that you use just enough to coat your tin, you don’t want to see big streaks or blobs of butter in there!
High sugar content – Sugar is often the cause of crispy brown edges. When sugar starts to crystallise around the edge of the tin, it will turn hard and crunchy – which isn’t always a bad thing! A good tip to look out for is that the sugar doesn’t exceed the flour in the recipe.
Q: How do I make a recipe gluten free?
Our first piece of advice is to adjust your expectations. Gluten free baking will be more complicated and textures will change: but don’t panic, you can make it work.
Secondly, we encourage you to bake by weight, not cups as gluten free flours tend to vary dramatically in weight and volume. For more tips, head to our Mastering Gluten Free Baking blog post.
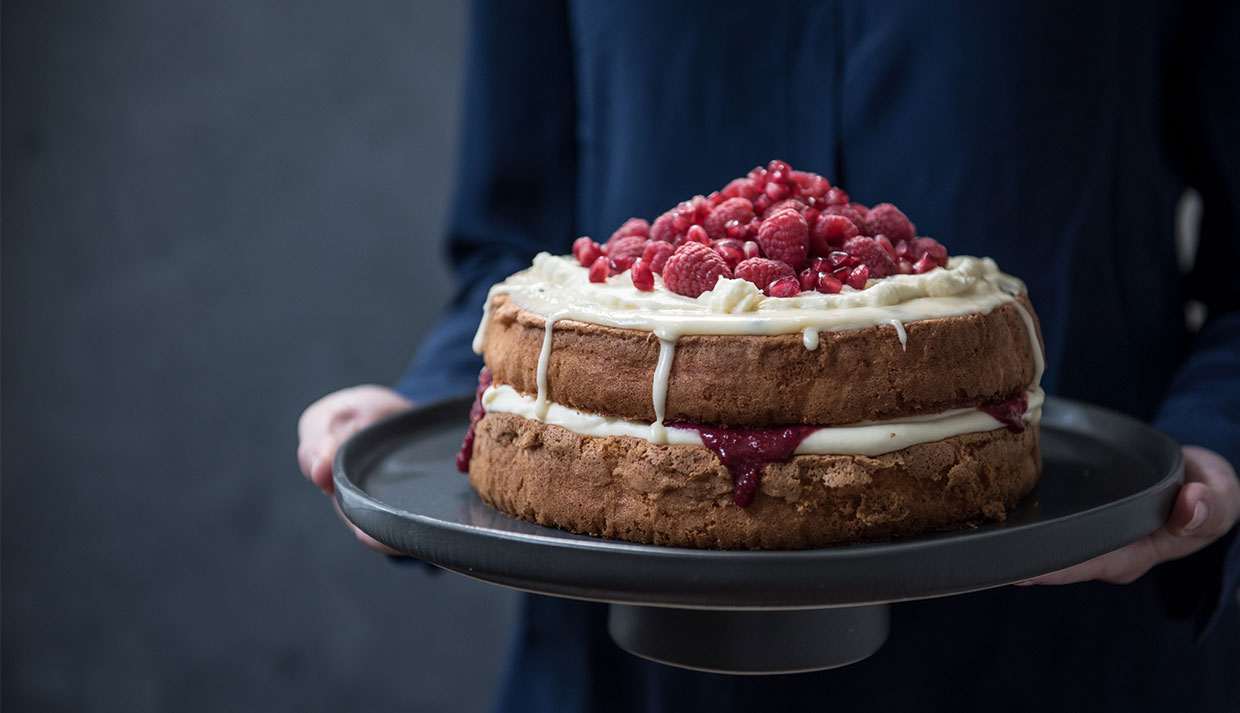
Q: How can I stop berries or chocolate chips sinking to the bottom of my cake?
Simply toss your chocolate chips, berries and or other baking bits in little plain flour to help suspend them in the batter.
To put your new found cake skills to use, try your hand at one of our tried, tested and trusted cake recipes or challenge yourself to our Bake Better email series!
For monthly recipes delivered straight to your inbox, along with product information, competitions and special offers, be sure to join our Queen Baking Club.

Comments & Reviews
I’m in!
Flossie