
There is a quiet magic to yeast dough. You mix a few plain ingredients, walk away, and come back to a bowl that has doubled in size all on its own. Light, fluffy yeast dough is not difficult, it just asks you to understand what the yeast is doing and give it what it needs, which comes down to warm ingredients, proper kneading and enough time to prove. Get those three right and everything from soft dinner rolls to a tray of cinnamon scrolls turns out tender and airy. This guide walks the dough from the mixing bowl to the oven, so you know what is happening and how to help it along at every stage.

What the yeast is actually doing
Yeast is a living thing, and once you picture it that way the whole process makes sense. Given warmth, moisture and a little sugar to feed on, the yeast wakes up and releases tiny bubbles of carbon dioxide. The gluten you develop in the flour forms a stretchy web that traps those bubbles, and that is what makes the dough swell and turn light. Everything else is just keeping the yeast happy and giving the gluten time to do its job.
Warmth is the yeast’s accelerator. Too cold and it works painfully slowly, too hot and you kill it, so gentle, body-temperature warmth is the sweet spot throughout.
Begin with warmth and the right yeast
The foundation of any yeast dough is flour, water, yeast and salt. From there, sweet doughs usually gain milk, butter, sugar and eggs, which make them richer and softer, while savoury doughs like pizza or a plaited loaf often take a little oil instead of butter. Warming the milk or water to around body temperature, roughly 37°C, wakes the yeast and gets the rise moving faster.
You have two kinds of yeast to choose from, and both are reliable.
- Fresh, or compressed, yeast comes as a soft block. Around 42g raises about 1kg of flour. It gives a lovely result but does not keep long, so use it while it is fresh.
- Dried yeast comes in sachets. A 7g sachet covers roughly 500g of flour, and it keeps for months, which makes it the handy choice for spontaneous baking.
If you are using dried yeast, dissolve it in a little lukewarm water or milk first and let it sit for a few minutes until it looks creamy and active, then mix it through the rest of the ingredients.
Flour matters too. Plain flour or bakers flour suits soft, sweet bakes, while bread flour, wholemeal, or a blend of the two gives savoury breads and rolls more structure and chew. Wholemeal makes a stickier dough, so knead it gently and give it a little extra patience.

Knead to build the stretch
Kneading is what develops the gluten, and the gluten is what gives your dough the elasticity to trap all that gas and hold its shape. Three to five minutes is usually plenty, whether you are working by hand, with the dough hook on a stand mixer, or the beaters on a hand mixer.
You are looking for a dough that turns smooth and elastic and begins to pull cleanly away from the sides of the bowl, often with a few small bubbles appearing at the surface. That is your sign the gluten is ready and the dough can move on to its first prove.
The first prove, where the magic happens
Now you let the yeast do the heavy lifting. This resting stage is called proving, though you will just as often hear it called proofing, the two mean the same thing and both are used happily in Australian kitchens. Cover the bowl with a damp tea towel so the surface does not dry out, and leave it somewhere warm and free of draughts. At room temperature, most doughs take one to two hours to rise visibly, and you are simply waiting for a clear increase in volume, usually close to doubled.
A few things speed it along if you are short on time.
- Find it a warm spot. Warm the oven to about 50°C, turn it off, and sit the covered bowl inside. That gentle warmth gets the yeast moving quickly.
- Give it a little more to feed on. A touch of extra sugar in the dough feeds the yeast, though keep it modest, since too much actually slows things down.
- Mind the draughts. A cold draught is the enemy of a good rise, so keep the bowl somewhere still and sheltered.
If you would rather slow things down, the fridge is your friend. A long, cold prove overnight deepens the flavour and spreads the work across two days, which is especially handy for a weekend bake.

Shape it, then prove it again
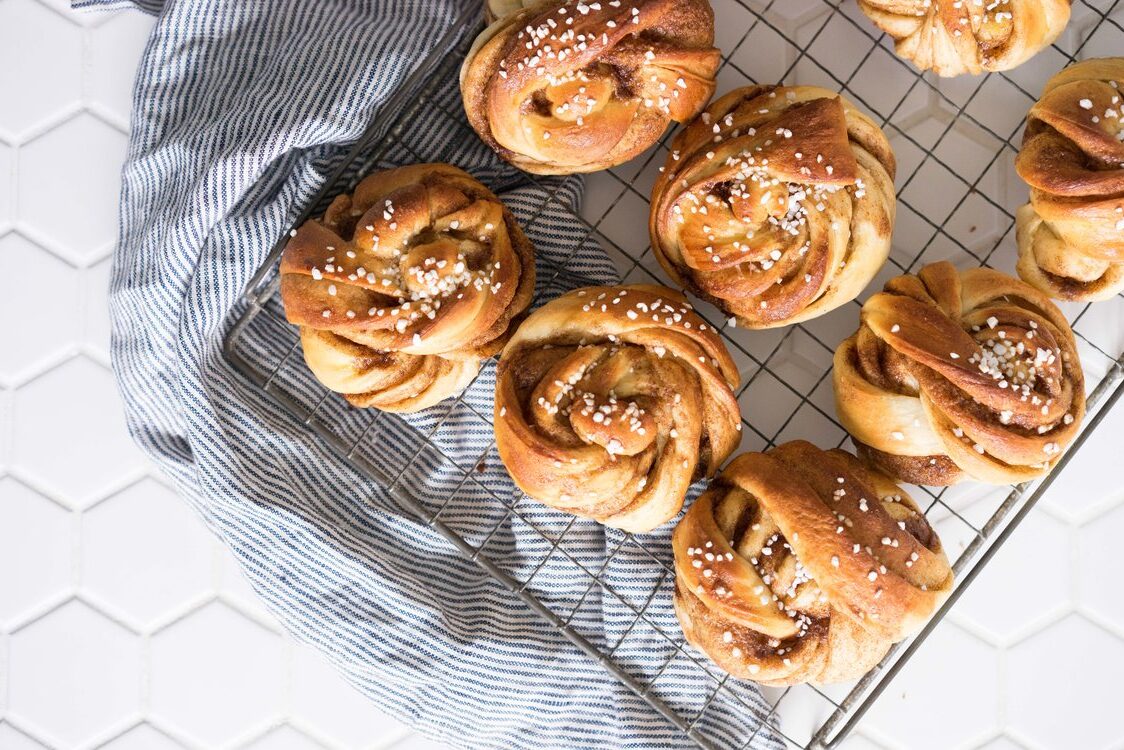
Once the dough has risen, shaping it, rolling scrolls, forming rolls, plaiting a loaf, presses much of that built-up air back out. That is exactly why a second prove matters. Left to proof again after shaping, the dough puffs back up, and this second rise is what gives the finished bake its real volume, a lighter texture and a soft, even crumb. Skip it and you tend to get a denser result, so it is worth the extra half hour or so.
Into the oven
When it comes to baking, a conventional oven with top and bottom heat is usually the better choice for yeast dough, because it bakes more evenly and gently. Fan-forced ovens move hot air around quickly, which can dry and set the surface before the inside has caught up, something you notice most on delicate bakes like sweet buns and plaited loaves. If fan-forced is all you have, a slightly lower temperature helps even things out.
For sweet doughs, bring in the flavour
Sweet, enriched doughs are where a little flavour really earns its place. The scrolls, buns and brioche-style bakes already carry milk, butter, sugar and eggs, and a good splash of vanilla lifts all of it, both worked through the dough and, especially, in the glaze or icing that finishes it off. A quality vanilla from the Queen vanilla range is an easy way to take a tray of scrolls from nice to memorable.
If you would like a tested dough to put all of this into practice, Queen has a few favourites to start with. The no-knead 1 hour cinnamon rolls are a quick way in, the cinnamon, raspberry and pear scrolls are a weekend treat, and the vanilla bean glazed choc chunk hot cross buns and hot cross cinnamon rolls are worth the oven time any time of year.
Frequently asked questions
How do you make yeast dough fluffy?
Light, fluffy dough comes from three things working together, warm ingredients, thorough kneading and enough proving time. Sugar and fat feed the yeast and soften the crumb, eggs add tenderness, and a warm, draught-free spot lets the dough rise fully. Give it time and it does most of the work itself.
What is the difference between fresh and dried yeast?
Both raise dough reliably, they just suit different situations. Fresh, compressed yeast comes as a block, with about 42g raising 1kg of flour, but it does not keep long. Dried yeast comes in 7g sachets, each enough for roughly 500g of flour, and keeps for months, making it ideal for spur-of-the-moment baking.
How do you use dried yeast?
Dissolve the dried yeast in a little lukewarm water or milk first and leave it for a few minutes until it looks creamy and starts to froth. That proves it is alive and active. Then mix it through your remaining ingredients, knead the dough, and let it rise as the recipe directs.
Which flour is best for yeast dough?
For soft, sweet bakes like buns and scrolls, plain flour or bakers flour works beautifully. For savoury breads and rolls, bread flour, wholemeal, or a blend gives more structure and chew. Wholemeal adds flavour but makes a stickier dough, so knead it gently and allow a little extra time.
Why won’t my yeast dough rise?
The usual culprits are ingredients that were too cold, yeast that is past its best, too little kneading, or a spot that is too cool. Warm your milk or water to around 37°C, check your yeast is fresh and active, knead well, and prove the dough somewhere warm and free of draughts.
How do you make yeast dough rise faster?
Warmth is the key. Sit the covered bowl somewhere gently warm, such as an oven heated to 50°C then switched off, and keep it out of draughts. A little extra sugar feeds the yeast too, though not too much, since a very sweet dough actually slows the rise down.
How long should you prove or proof yeast dough?
At room temperature, most doughs take one to two hours for the first prove, until clearly risen and close to doubled. A second proof after shaping is usually shorter. For more flavour and flexibility, you can prove the dough slowly in the fridge overnight instead. Proving and proofing are the same thing.
Why does yeast dough need a second prove?
Shaping the risen dough presses out much of the air the first prove built up. A second prove lets it puff back up, which is what gives the baked result its volume, a lighter texture and a soft, even crumb. Skipping it usually leaves the bake denser than you would like.
Why is my yeast dough dense instead of fluffy?
Dense dough almost always comes down to under-kneading, cold ingredients, or not enough proving time. Knead until the dough is smooth and elastic, make sure your ingredients are warm, and give it the full rise in a warm, sheltered spot. Patience at the proving stage is what makes the difference.
Can you freeze yeast dough?
Yes. Shape the dough and wrap it tightly before its final prove, then freeze it. For the best rise, use it within about a month, though it will keep up to around three months. Thaw it in the fridge overnight, bring it back to room temperature, then let it do its final prove before baking.

Comments & Reviews