Ingredients
-
2 cups (300g) self-raising flour, plus extra, to dust
-
Pinch of salt
-
60g butter, cubed, softened slightly
-
2 tbsp caster sugar
-
1/2 cup (125ml) pouring (pure) cream, plus extra, to glaze
-
1⁄3 cup (80ml) milk
-
1 1/2 tsp Queen Natural Organic Vanilla Essence-Extract
-
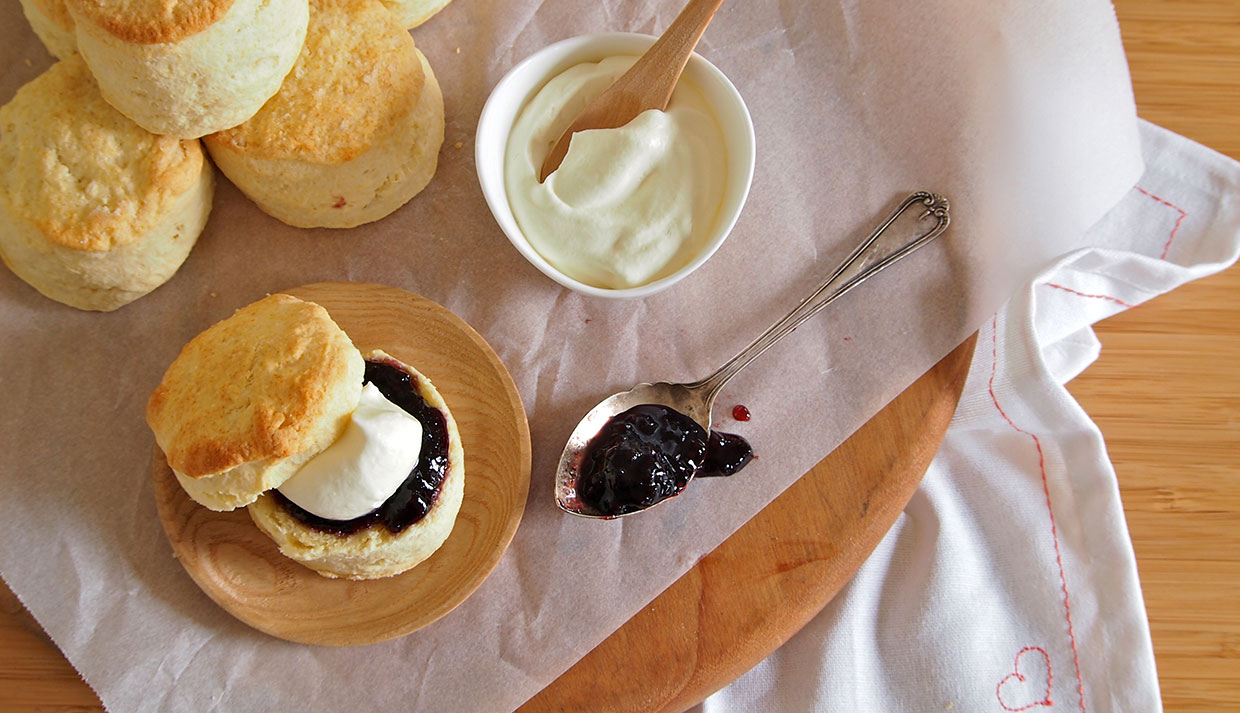
Berry jam and whipped cream, to serve
Method
-
1
Preheat the oven to 220°C (200°C fan-forced). Line a baking tray with non–stick baking paper.
-
2
Put the flour and salt in a large wide bowl. Use fingertips to rub in the butter until the mixture resembles fine breadcrumbs and the butter is evenly incorporated. Stir in the sugar and make a well in the centre.
-
3
Combine cream, milk and Vanilla, add to flour mixture and use a round-ended knife to mix with a cutting action until the dough comes together in clumps.
-
4
Use lightly floured hands to bring the dough together – it will be soft, but not sticky. Place on a lightly floured surface and knead lightly and briefly (only about 6 times) to bring it together into a rough ball.
-
5
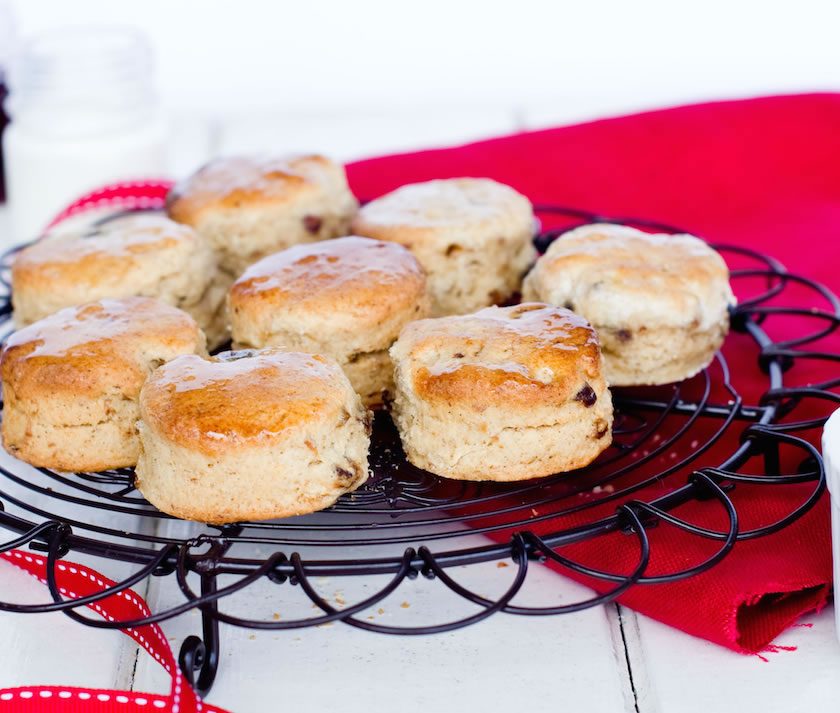
Use the palm of your hand to flatten the dough to about 2cm thick. Using a floured 6 cm round cutter, cut the dough into 9 rounds, gathering the offcuts and, without over-handling, pressing out and cut as before, when necessary. Place on the lined tray, 1-2cm apart. Use a pastry brush to lightly brush the top of each scone with a little extra cream, then dust with a little extra flour.
-
6
Bake in the middle of the oven for 12–15 minutes, until the scones are lightly golden and cooked through; they are ready if they sound hollow when you tap them on the base and split easily in half. Serve warm or at room temperature, split and topped with jam and cream.
TIP
These scones are best eaten on the day they are made.
Thanks to Anneka Manning from BakeClub for the recipe and image.


Comments & Reviews