Ingredients
Brown Butter Cake
-
300g butter
-
2 1/2 cups (375g) plain flour
-
1 tbsp baking powder
-
240ml milk
-
2 tsp Queen Vanilla Bean Paste
-
1 1/2 cups (330g) caster sugar
-
4 large eggs
Salted Caramel Icing
-
1 cup (220g) caster sugar
-
100g butter
-
1/3 cup (80ml) thickened cream
-
Sea salt flakes, to taste
Vanilla Bean Icing
-
400g salted butter
-
4 cups (600g) icing sugar, sifted
-
1/3 cup (80ml) milk
-
2 tsp Queen Vanilla Bean Paste
Method - Brown Butter Cake
-
1
Prepare the brown butter ahead of time as you will need to chill it; place butter in a small saucepan on low-medium heat and stir until it melts completely. Continue cooking, stirring frequently until the milk solids turn brown and the butter smells nutty, about 5 minutes longer (or as long as it takes to turn golden brown). Take care not to burn (it will continue to brown even after you remove it from the heat, so take it off early).
-
2
Scrape the melted butter and browned bits into small bowl and chill until solidified (about half an hour in the freezer, an hour or so in the fridge). When ready to make cake, remove from the fridge long enough that the butter is soft enough to be beaten with an electric mixer.
-
3
Preheat oven to 180°C (fan forced) and grease four 15cm (6”) or three 18cm (7”) round cake tins. Line the base of the tins with baking paper. Combine flour and baking powder in a medium bowl and set aside. Mix milk and vanilla together in a measuring jug.
-
4
Using an electric mixer on low speed, beat sugar and brown butter in a large bowl until blended. Increase speed to high and beat well until very pale and creamy, at least 5 minutes. Reduce speed to medium low, add eggs 1 at a time, beating well after each addition.
-
5
Alternately add flour mix and milk mixture, beginning and ending with flour mixture. Beat until smooth, occasionally scraping bowl with a spatula.
-
6
Pour equal amounts of mixture into prepared tins and bake until a skewer inserted into the centre comes out clean and the outside is golden, about 30-35 minutes (will vary depending on your cake tin size). Take care not to over bake or cake will be dry.
-
7
Cool in tins for 15 minutes, then carefully turn out on to a wire rack to cool completely. Can be stored in an airtight container overnight if you want to prep the cakes a day ahead.
Method - Salted Caramel
-
1
Place sugar in a heavy-based medium to large saucepan on medium heat and whisk until it stars to melt (it may clump together but this is okay), continue whisking until all the sugar melts down.
-
2
Add a sugar thermometer to the pan and continue cooking without stirring, swirl the pan occasionally to stop the bottom from burning. Heat until mixture turns dark golden in colour and the sugar thermometer reaches 170°C, then add all the butter at once. Take care as mixture will bubble up.
-
3
Whisk until the butter is incorporated, then add cream (mixture will bubble up again) and whisk until smooth. Pour into a heatproof bowl and allow to cool slightly.
-
4
When cool enough to taste, add extra salt to taste. Chill until ready to pour over cake (chilled mixture will be quite thick so you might want to bring it back to room temperature to make it easier to pour over the top of the cake).
Method - Vanilla Bean Icing
-
1
Place butter in a large mixing bowl and beat with an electric mixer on high. With the mixer on low, gradually add icing sugar and mix until incorporated. Add vanilla bean paste and milk and beat on high until very pale and fluffy.
-
2
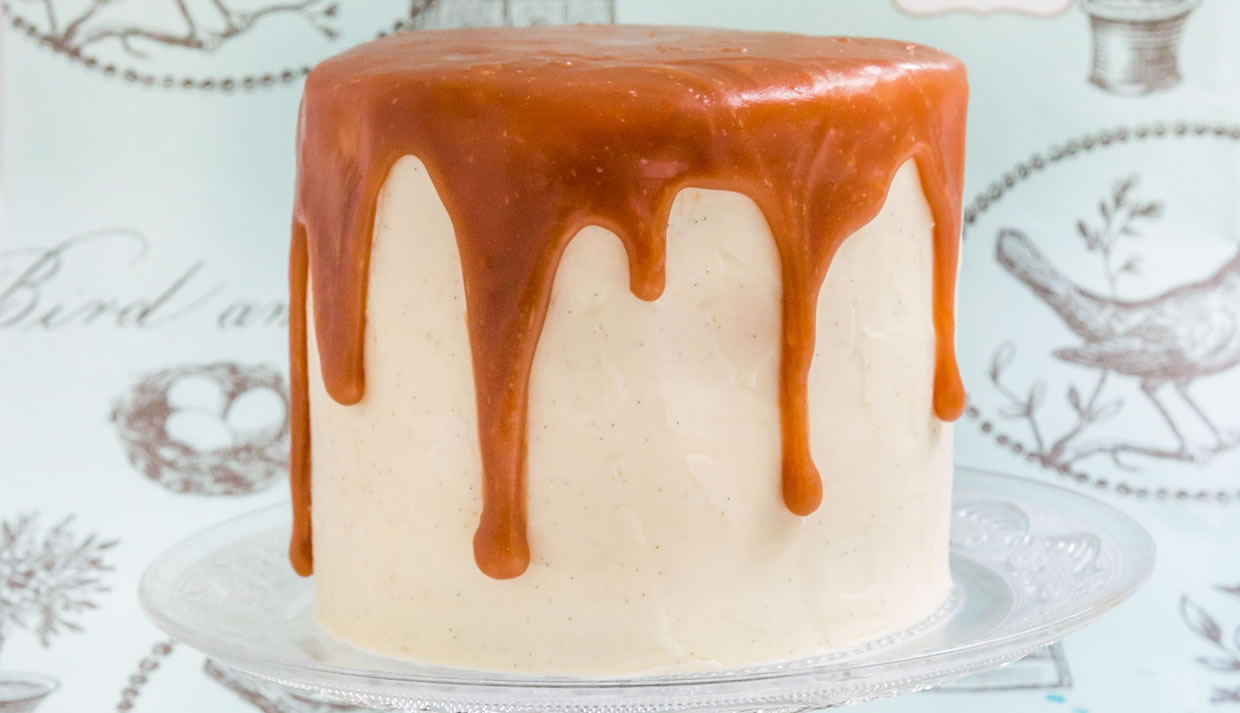
Place first layer of cake on your cake stand or plate. Spread a layer of icing over the top of the cake, using an offset spatula. Sandwich with another layer of cake and then repeat with remaining cake layers. Crumb coat cake and then chill cake for about 30 mins.
-
3
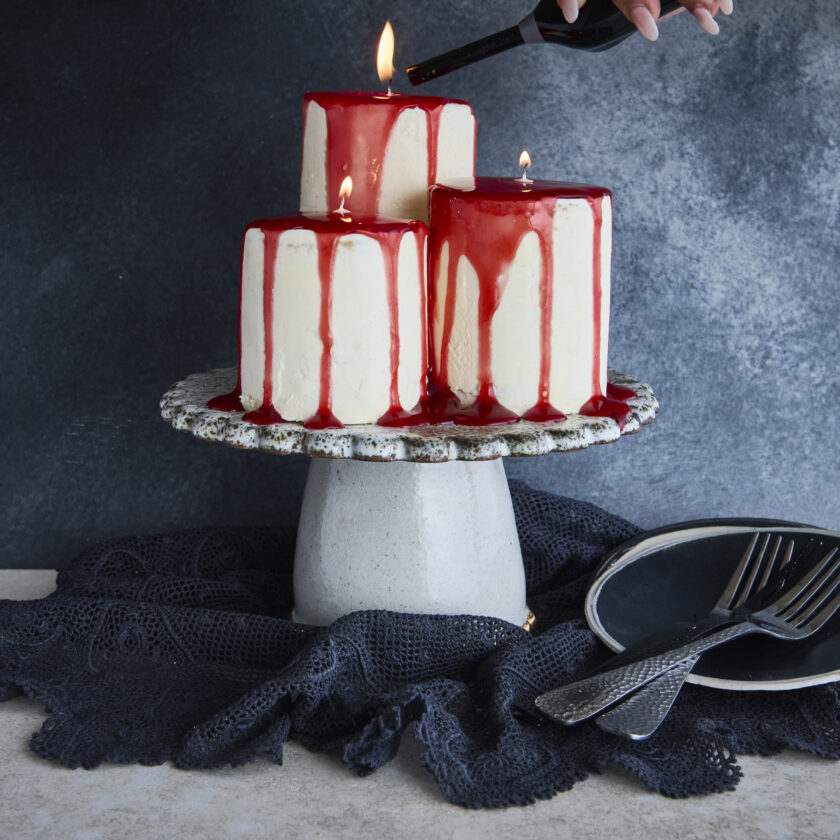
Cover cake with the remaining icing and chill again for another hour before pouring salted caramel over the top of the cake. Keep cake chilled in the fridge, remove 30 mins before serving to allow it to come back to room temperature.
This lovely recipe is originally by Steph from Raspberri Cupcakes. See the original here.


Comments & Reviews